To see your account settings and manage your SSH keys, click on your user name in the upper right of the screen and choose Settings.
Profile
The Profile page shows your login name, the system-generated user ID, and the groups your account is in. Your group memberships are not modifiable here as they are controlled by your administrator.
Your access permissions for different projects are based on the project roles granted directly to your account and indirectly via your group memberships. If you get more than one type of role permissions (admin vs collaborator vs viewer) for the same project, the highest level of access will take priority.
Access tokens
If you have auth tokens created for API access via the Oxide CLI, you will see them listed here and their respective expiration dates.
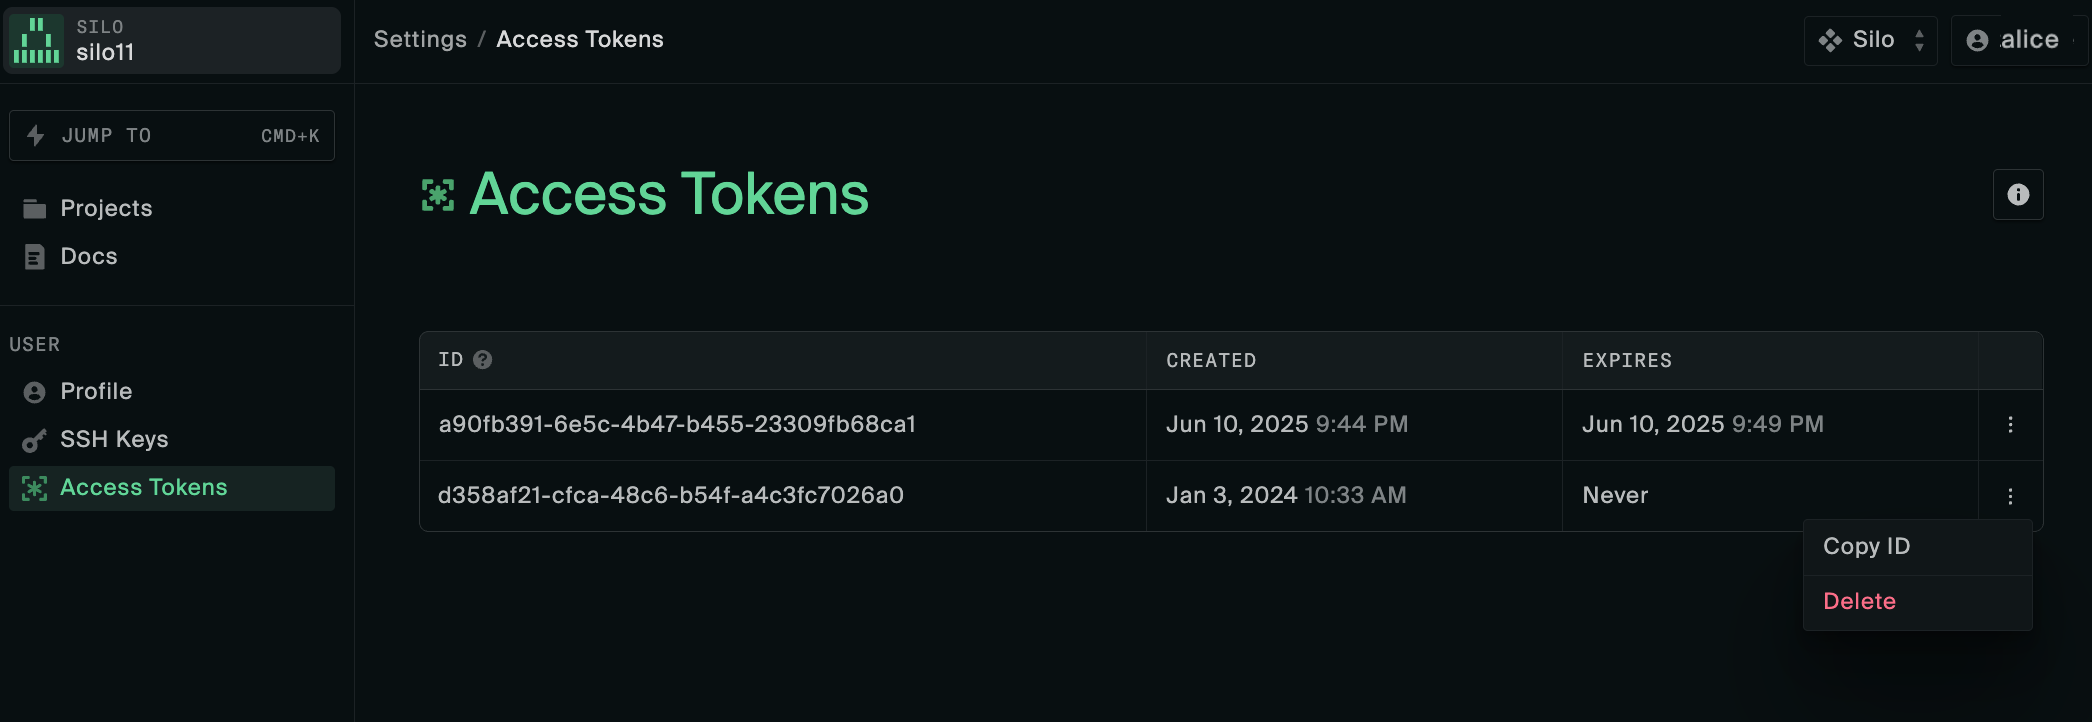
The expiration dates are set according to the token lifespan configured by your silo administrator at the time of token creation and remain unchanged afterwards.
Expired tokens are automatically excluded from the list. Unexpired tokens can be deleted via the Console or API if they are no longer needed.
$HOME/ of your workstation). You may
need to review and update the config.toml and credentials.toml files
after token changes to ensure a valid token is referenced by any API clients
in use.Manage SSH keys
To add, remove, or view your SSH keys, click SSH Keys on the left sidebar. Any keys added from the Create Instance page are also listed there.
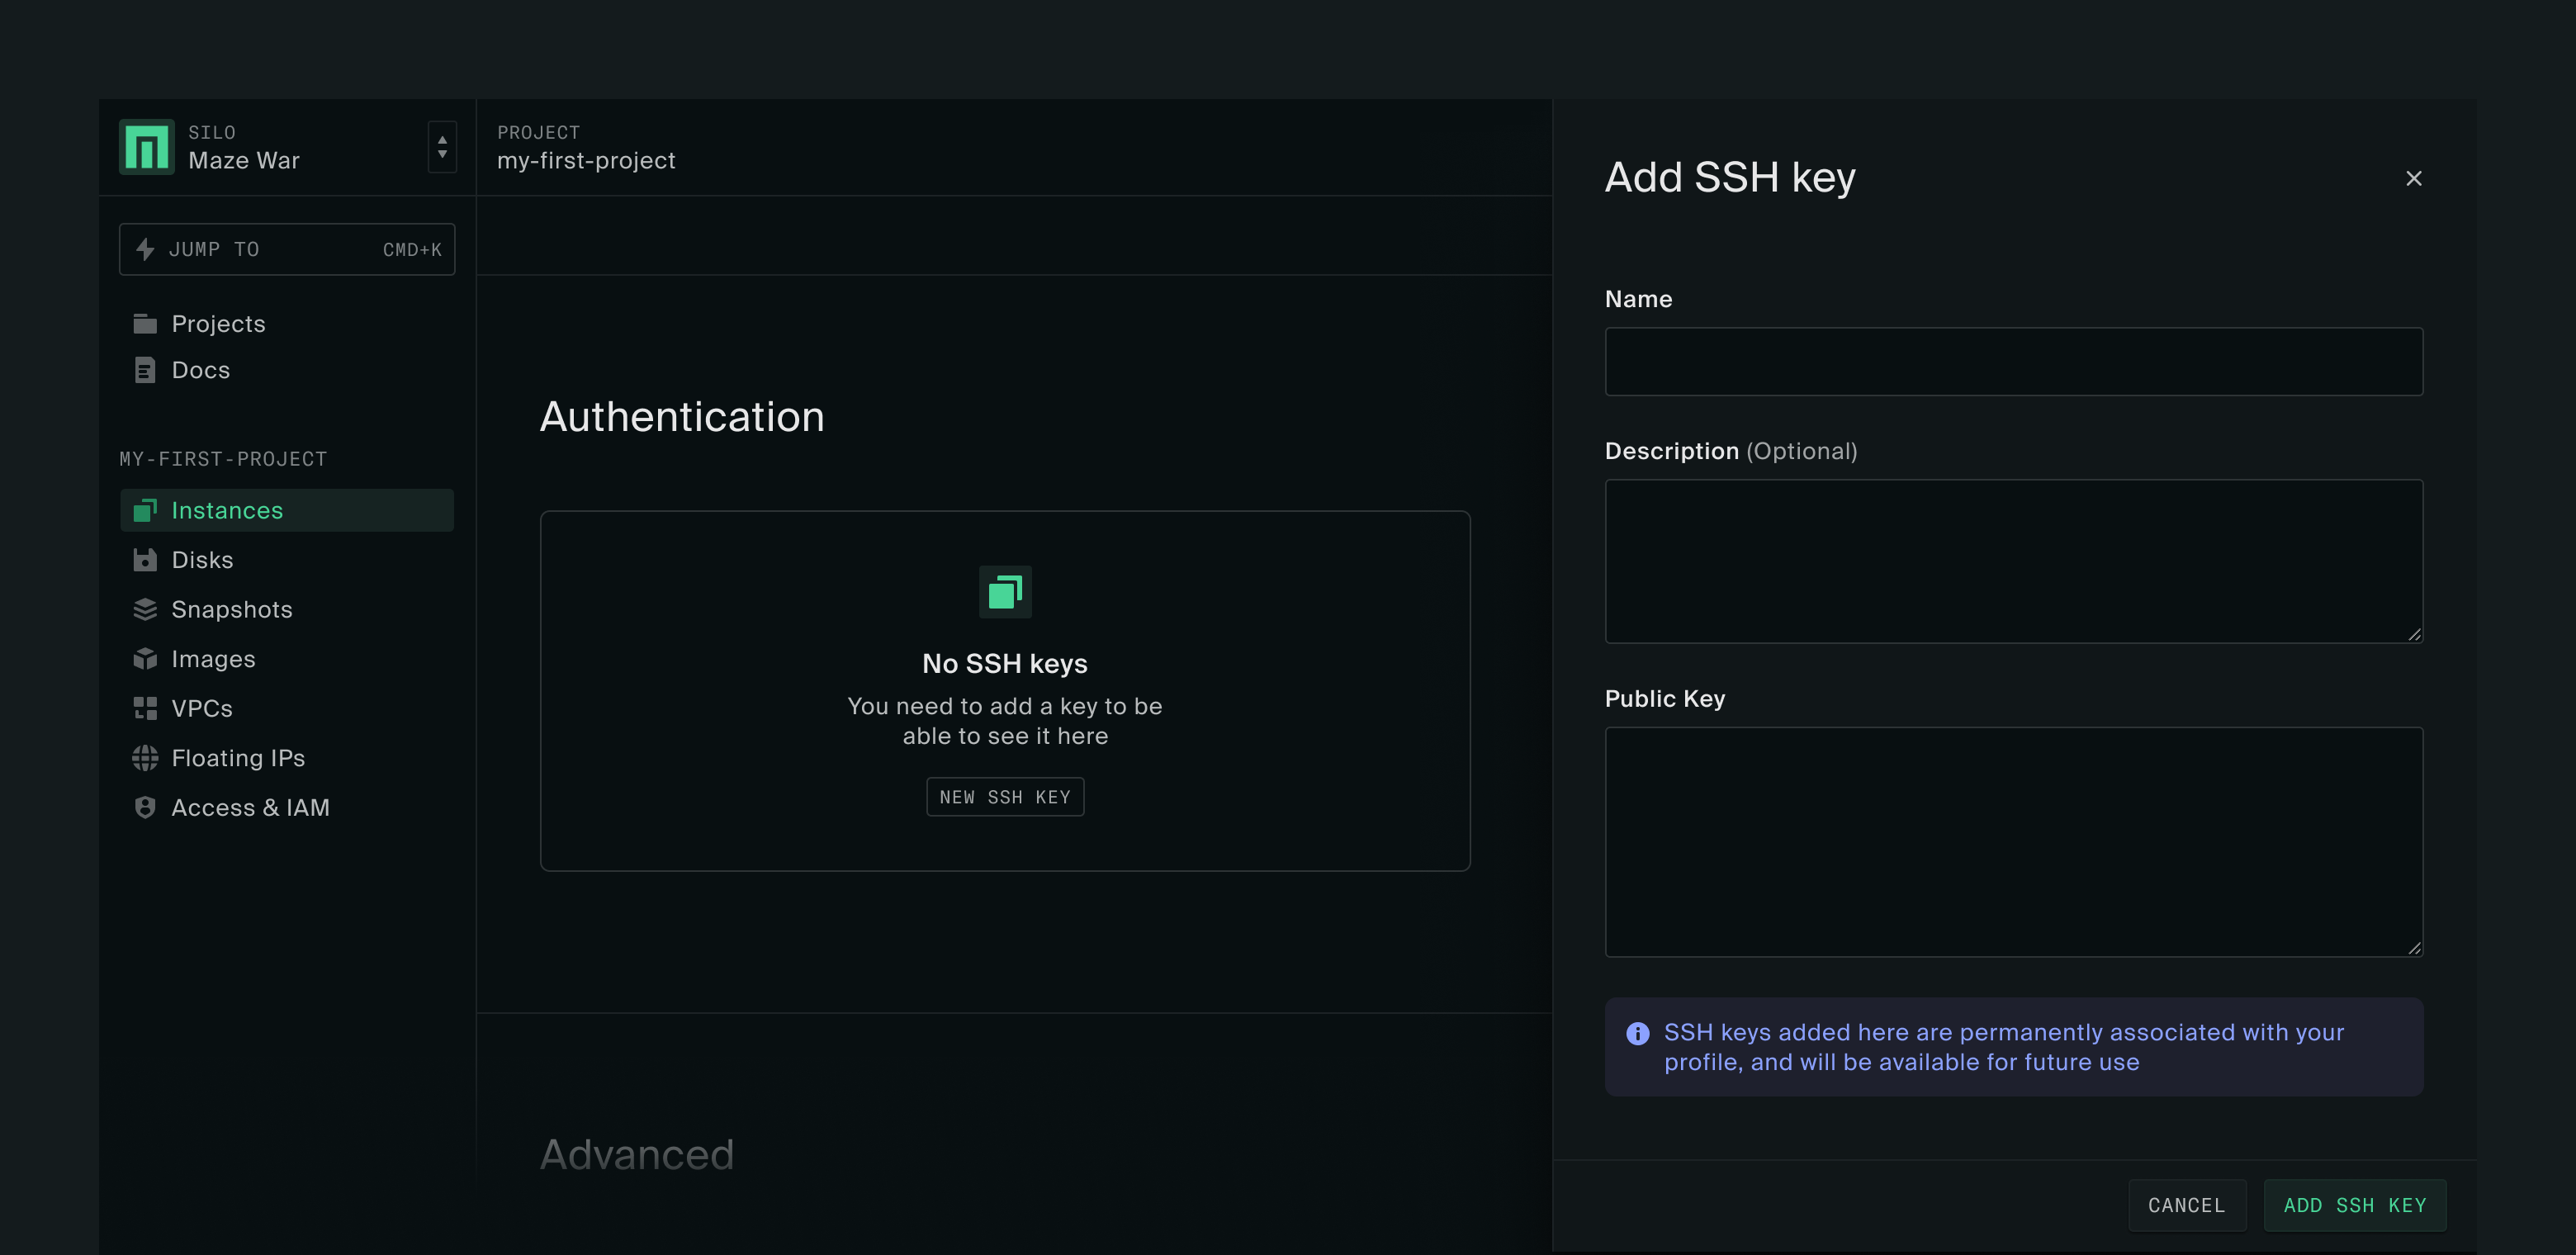
To add a public key, click on the Add SSH Key button on the right of the page. This will open the Add SSH Key form. Enter a name for your public key, then click Add SSH Key in the bottom right of the box.
To remove an existing key, simply click on the three dots on the right-most column of the SSH key table and click Delete.
Create an SSH key
If you do not already have a SSH key pair for use with your Linux instances, follow the instructions below to create one. As a reminder, you only need to add the public key portion of your key pair to your profile.
The instructions below cover SSH key creation on Windows 11, Linux, and Mac OS workstations. The particular commands needed might be different from what is below, depending on the OS version in use and your choice of SSH key options.
Mac and Linux
To generate an SSH key pair on Mac OS, first open a Terminal window to get the command line interface.
On your workstation, run the command:
ssh-keygenNext you will be prompted to provide the location where you want to create the
public and private key pair. Leave this empty to create the key in the default
location, which is $HOME/.
You may be prompted to choose a passphrase. There is none needed if you do not want to use one.
elijah@oxide ssh-keygen
Generating public/private rsa key pair.
Enter file in which to save the key (/Users/elijah/.ssh/id_rsa):
Enter passphrase (empty for no passphrase):
Enter same passphrase again:
Your identification has been saved in /Users/elijah/.ssh/id_rsa
Your public key has been saved in /Users/elijah/.ssh/id_rsa.pub
The key fingerprint is:
SHA256:0oRCexM0Yddq3isfw9mZrsg1suJf6AT2 elijah@oxide.computer
The key's randomart image is:
+---[RSA 3072]----+
|    ..*...       |
|   . o =  .      |
|    o + ..       |
|     o +o        |
|      =oS..      |
|     o *.B.+ +   |
|      o * #.= .  |
|      .=.X.B .   |
|     .EoBo+.o    |
+----[SHA256]-----+
Windows 11
In Windows 11 you can generate SSH keys directly from the Command Prompt without needing any third party solutions. (These instructions should also be applicable to Windows 10)
Click on the Start button on your Windows screen.
Search for Command Prompt, right-click the top result, and select the
Run as Administratoroption.Type the following command to generate a pair of SSH keys and press Enter:
ssh-keygen(Optional) Confirm a descriptive name for the file and press Enter.
(Optional) Confirm a passphrase for the SSH keys. (Note: The passphrase is an optional layer of security to protect the keys. If you don’t enter a password when authenticating, you won’t be asked to confirm the passphrase.)
Confirm the passphrase one more time and press enter.
Once you have completed the steps above, the private and public keypair will be
generated and stored in the .ssh folder inside your profile folder. The private
key will not include a file extension, while the public key will have a .pub
extension.